 Save to Pinterest
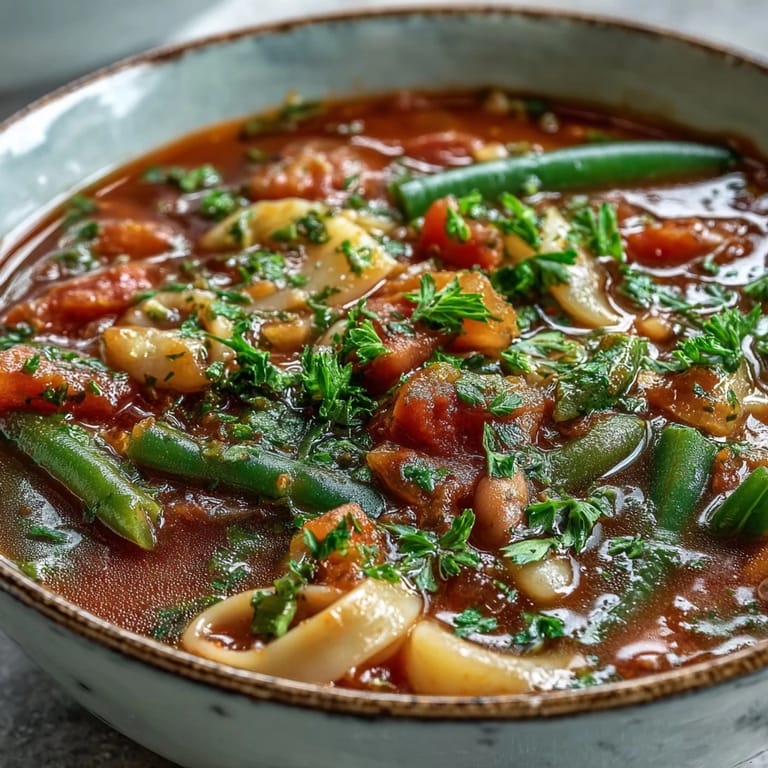
 My neighbor Marco showed up at my door one chilly November afternoon with a pot of minestrone, steam rising from under the lid, and I realized this soup had been feeding Italian families for generations for a reason. The first spoonful hit differently than anything I'd made before, not because of fancy technique but because every vegetable seemed to have its own purpose, its own moment to shine. Since then, I've made it dozens of times, each batch teaching me something new about how simple ingredients can transform into something that tastes like it took hours when it really only took your attention and about fifty minutes.
I made this for my partner on a night when neither of us had spoken much all day, both tired from work, and watching them wrap their hands around the warm bowl felt like a small reset button. There's something about minestrone that cuts through whatever heaviness is sitting around, and by the second bowl, we were actually talking again. It's become our go-to recovery meal, the kind of thing that proves food can be medicine without trying to be.
Ingredients
- Olive oil: Just 2 tablespoons is enough to start everything off without making the soup slick, so don't oversell it here.
- Onion, celery, and carrots: This trio is the flavor foundation, and dicing them roughly equal sizes means they'll all finish cooking at the same time.
- Garlic: Two cloves minced fine so they melt into the broth rather than punch you in the face with garlic chunks.
- Zucchini and green beans: These stay fresher tasting if you don't add them at the very start, so they go in a few minutes after the softer vegetables.
- Baby spinach or kale: Spinach wilts faster and tastes milder, kale holds its shape better if you like that heartier texture.
- Diced tomatoes: Canned is perfect here, no need to peel fresh ones, and the juice they come in is liquid gold for your broth.
- Tomato paste: Two tablespoons gives depth and umami without making it taste like tomato sauce.
- Vegetable broth: Six cups is your base, but taste it first because some brands are saltier than others.
- Small pasta: Ditalini or elbow shapes trap broth and vegetables in every bite, making each spoonful satisfying.
- Canned beans: Cannellini beans are creamy and mild, kidney beans are earthier, either works depending on your mood.
- Oregano, basil, and thyme: Dried herbs work beautifully here since they cook into the broth, but if you only have fresh parsley on hand, add it at the very end or the heat will turn it bitter.
- Bay leaf: This one leaf somehow pulls everything together, so don't skip it even though you'll remove it later.
- Salt and pepper: Add cautiously at the end since your broth is already seasoned and the beans bring their own saltiness.
Tired of Takeout? 🥡
Get 10 meals you can make faster than delivery arrives. Seriously.
One email. No spam. Unsubscribe anytime.
Instructions
- Build your flavor base:
- Heat the olive oil in your pot over medium heat and add the diced onion, celery, and carrots all at once. Let them soften for about 5 minutes, stirring occasionally so they get a little golden at the edges but don't brown too fast.
- Add the tender vegetables:
- Stir in the minced garlic, diced zucchini, and green beans and cook for another 3 to 4 minutes until you can smell the garlic waking up. The vegetables should look softer but not mushy at this point.
- Pour in the liquid and seasonings:
- Add the diced tomatoes with their juice, tomato paste, vegetable broth, oregano, basil, thyme, and bay leaf all together. Stir well so the tomato paste dissolves into the broth instead of clumping, then bring everything to a boil before turning the heat down to a simmer.
- Let it simmer:
- Once it's simmering, leave it alone for about 15 minutes so all the flavors can get to know each other. This is when your kitchen starts smelling like an Italian grandmother's house.
- Add the pasta and beans:
- Stir in the pasta and the drained beans and let everything cook for about 10 minutes until the pasta is al dente, tender but still with a tiny bit of resistance when you bite it. Taste the broth now to see if it needs salt.
- Finish with the greens:
- Toss in the spinach or kale and the fresh parsley and simmer for just 2 to 3 minutes until the greens wilt down and turn an even darker green. This is the moment where everything comes alive again.
- Season and serve:
- Fish out the bay leaf, taste the soup one more time, and add salt and pepper as needed. Ladle into bowls, garnish with more fresh parsley if you have it, and serve while it's still steaming.
 Save to Pinterest
 I once brought this soup to a potluck where everyone had made something fancy and complicated, and I watched my humble pot of minestrone disappear faster than the elaborate salads. It taught me that there's real power in simplicity, in knowing exactly what you're eating and where each ingredient comes from.
The Magic of Layering Flavors
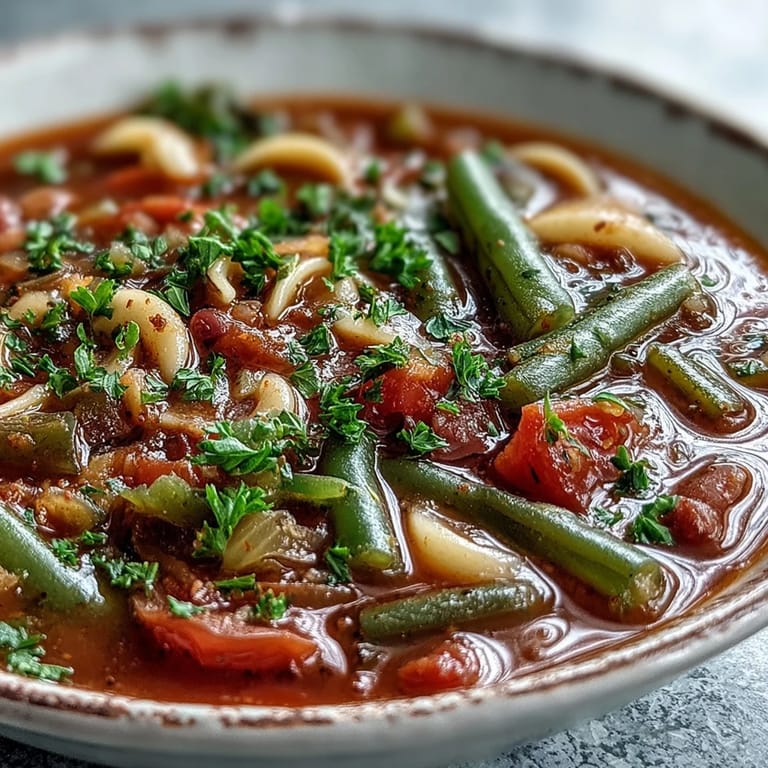
Minestrone works because you're not dumping everything in at once and hoping for the best. You're building in stages, letting softer vegetables go first, then the ones that need more time, then the ones that are sensitive to heat. This staggered approach means each vegetable stays true to itself while still becoming part of something bigger. It's honestly a lesson in patience and respect for individual ingredients.
Stretching a Batch
One of the best things about minestrone is how flexible it is in the face of reality. Running low on one vegetable? Swap in what you have in the crisper drawer. Out of cannellini beans? Chickpeas are lovely, so are lentils. The soup adapts instead of falling apart, which honestly makes it perfect for weeknight cooking when your plans always seem to shift.
Serving and Storage Wisdom
This soup loves being made a day ahead because the flavors deepen and the pasta actually absorbs some of the broth, making it even more satisfying. The only trick is that if you're reheating, add a splash more broth because the pasta will have soaked up quite a bit. Freeze it in portions if you want, just leave a little room at the top of your container since soup expands.
- Top with grated Parmesan if you're not keeping it vegetarian, and let people add as much as they want.
- Serve with good crusty bread so you can soak up every last bit of broth, which is the whole point really.
- A small drizzle of your best olive oil on top right before serving tastes like a fancy restaurant move but costs almost nothing.
 Save to Pinterest
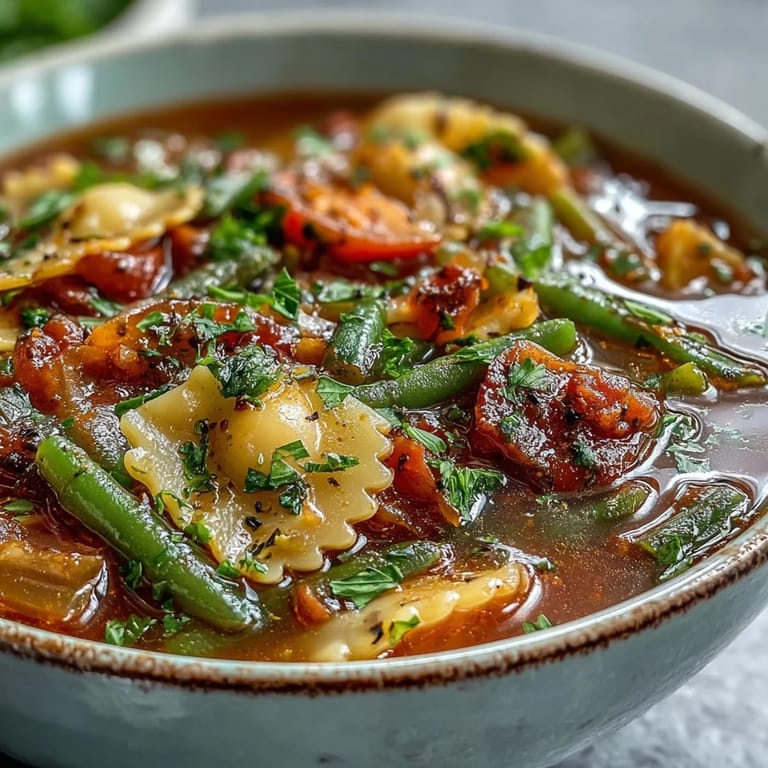
 Minestrone is proof that the best meals are the ones that taste like home, whatever home means to you. Make it, share it, and watch how a simple pot of soup becomes the thing people ask you to bring.
Recipe FAQs
- → What vegetables work best in minestrone?
Classic Italian minestrone shines with onions, celery, carrots, zucchini, and green beans as the foundation. Feel free to incorporate whatever seasonal vegetables you have on hand—swiss chard, Savoy cabbage, or bell peppers all complement beautifully. The key is maintaining a variety of colors and textures for an appealing, nutritious bowl.
- → Can I make minestrone gluten-free?
Absolutely! Simply substitute regular pasta with your favorite gluten-free variety—rice penne, corn shells, or chickpea elbows all work wonderfully. Ensure your vegetable broth is certified gluten-free as well. The resulting bowl remains just as hearty and satisfying.
- → How should I store leftover minestrone?
Cool completely before transferring to airtight containers. Refrigerate for up to 5 days—the flavors actually develop beautifully over time. For longer storage, freeze individual portions for up to 3 months. Thaw overnight in the refrigerator and reheat gently on the stovetop, adding a splash of broth if needed.
- → What pasta shape is ideal for minestrone?
Small pasta shapes that can fit on a spoon work perfectly—ditalini, elbows, small shells, or tubetti are traditional choices. These compact shapes hold the broth well and provide satisfying bites throughout. If you prefer, break spaghetti into shorter pieces for a rustic touch.
- → Is minestrone suitable for meal prep?
Minestrone excels as a make-ahead dish. Prepare a large batch on Sunday, portion into containers, and enjoy throughout the week. The pasta absorbs flavor as it sits, creating an even more cohesive dish. Just keep in mind that pasta may soften over time—cook it slightly more al dente initially if planning to store for several days.