 Save to Pinterest
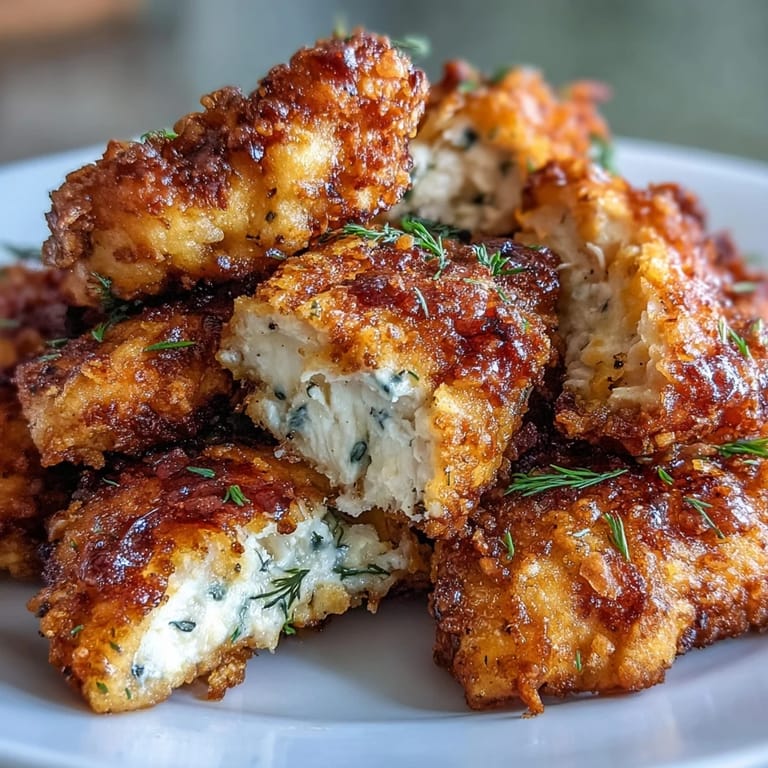
 Sometimes a kitchen experiment born out of leftover pickle jars leads to something unexpectedly addictive. That sharp vinegary tang in the air as I opened the fridge inspired what would turn out to be the crispiest, juiciest chicken tenders I’d ever made. The first time I dunked chicken in the brine, I worried it might be too weird, but curiosity got the best of me. Sizzling the tenders in hot oil while the room filled with the scent of fried comfort food felt oddly triumphant. Each bite delivered pure crunch with a pop of pickle flavor I didn’t even realize I’d been craving.
I’ll never forget the neighborhood game night when my batch of these chicken tenders vanished in record time. My hands were still dusted with flour as someone shouted across the room, “Are these dipped in pickle juice?!” It started an hour-long debate about brines, but everyone agreed the last morsels were worth fighting for. Even the “pickle skeptics” kept sneaking seconds when they thought I wasn’t watching.
Ingredients
- Chicken tenders: Choose fresh, plump pieces—marinate them for at least an hour so every bite soaks up the brine and turns tender.
- Dill pickle brine: Use straight from the pickle jar; it infuses the meat with tang and makes flavor magic with minimal effort.
- Hot sauce: Adds a gentle heat to the marinade, and you can tailor the heat level by adding just a dash or skipping it.
- All-purpose flour: Gives the breading that golden color—sift it for an even coating without clumps.
- Cornstarch: Learned the hard way that it boosts crispiness much more than flour alone could.
- Paprika: Just a teaspoon creates a subtle warmth and appetizing color in the crust.
- Garlic powder & onion powder: These two bring a savory punch that keeps the seasoning balanced.
- Kosher salt & black pepper: Don’t skimp; they sharpen all the flavors and make the coating sing.
- Cayenne pepper: Optional, but a pinch brings a slow-burn heat for those who like a kick.
- Eggs & buttermilk: The magic glue that makes breading stick—sub in non-dairy milk if you like.
- Vegetable oil: Go for a high smoke-point oil and preheat fully for an even fry and crunchy finish.
Tired of Takeout? 🥡
Get 10 meals you can make faster than delivery arrives. Seriously.
One email. No spam. Unsubscribe anytime.
Instructions
- Soak Up the Brine:
- Tumble chicken tenders with the dill pickle brine and hot sauce in a bowl, cover, and let them chill in the fridge for at least an hour. You might catch a whiff of pickles every time you open the fridge and smile knowing it’s working its magic.
- Prep the Breading Station:
- Mix flour, cornstarch, paprika, garlic powder, onion powder, salt, pepper, and cayenne in a shallow dish. In a separate bowl, whisk the eggs and buttermilk until smooth and a little frothy.
- Bread the Chicken:
- Pat marinated chicken dry, then dredge each piece in the flour mix, dip into the egg mixture, and coat again in flour. Press firmly the second time so the breading really clings.
- Get the Oil Hot:
- Pour about two inches of vegetable oil into a heavy skillet or Dutch oven and heat to 350°F. Flick in a crumb—if it sizzles and floats, you're good to go.
- Fry to Perfection:
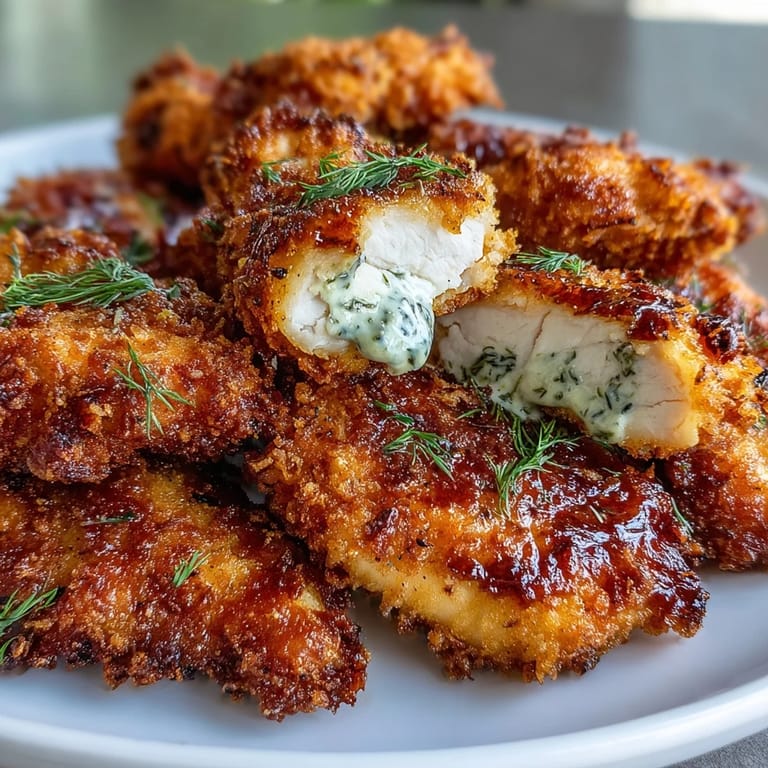
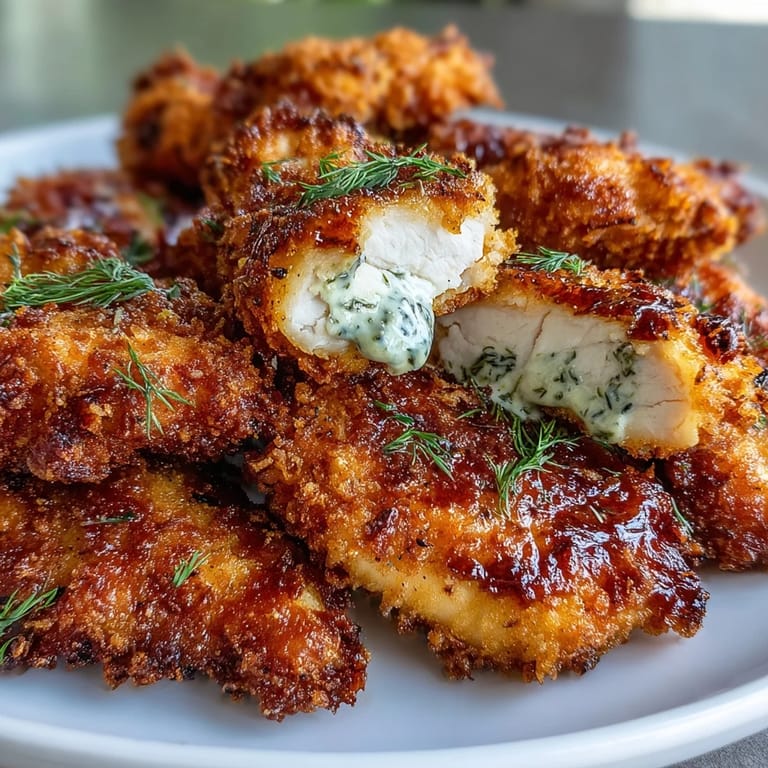
- Lower the chicken tenders into hot oil in batches, frying 3–4 minutes per side until deep golden and crisp. Move to a wire rack or paper towels to cool for a minute before serving.
- Serve and Enjoy:
- Plate the tenders while they’re piping hot and serve with plenty of dipping sauce and a round of napkins.
 Save to Pinterest
  Save to Pinterest
 The moment my friend called these “pickle magic” was when I realized this recipe was more than just a clever way to use up brine—it became a repeat request for every get-together. Sometimes one slightly quirky ingredient turns a classic dish into everyone’s favorite conversation starter.
Choosing the Best Brine: Why It Matters
Pickle brine might seem like an afterthought, but the type you use changes everything: classic dill adds zippy sharpness, while a sweeter brine brings subtle sweetness that tames the heat. I learned to always taste the brine first—you want it punchy but not overpowering, and never use a brine that’s gone cloudy or flat.
Crunch Factor Upgrades
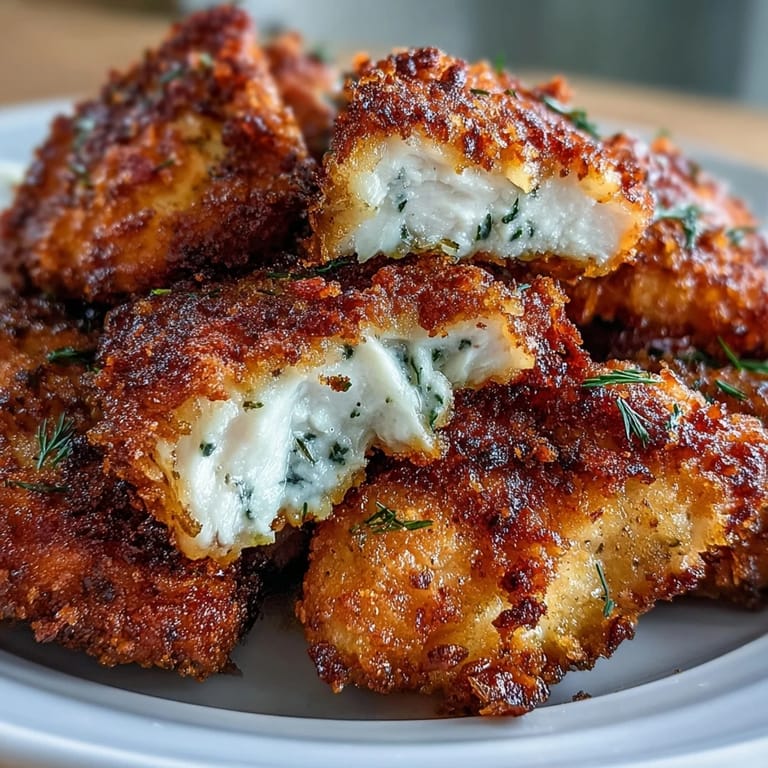
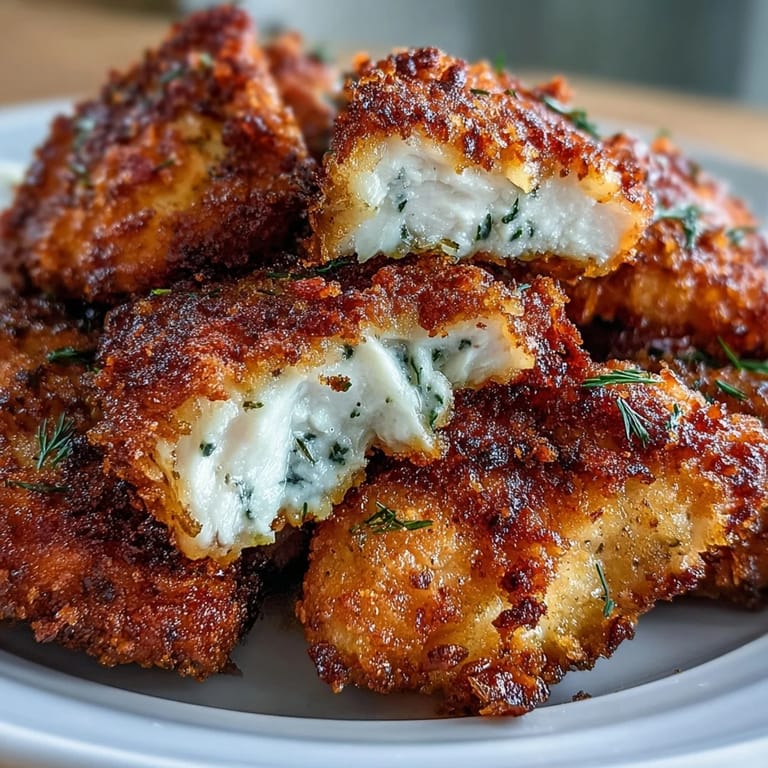
After a few tries, I found that tossing a handful of panko breadcrumbs into the flour mixture created extra jagged, ultra-crispy edges. If you’re baking instead of frying, a very light mist of oil over the breaded tenders gives them a running start toward crunch—even in the oven.
Your Dipping Game: Sauces and Serving Tips
These tenders are a playground for sauces: ranch, honey mustard, and spicy mayo all hit different notes, so I usually set out a sampler. They’re also excellent cold the next day (if there’s any left), so don’t worry about leftovers.
- Bake on a rack for even air flow if using the oven.
- Briefly drain fried tenders on a rack so they stay crisp, not soggy.
- Season lightly with salt the moment they come out of frying oil.
 Save to Pinterest
  Save to Pinterest
 However you serve them, these pickle brine chicken tenders bring big flavor with a side of fun. Trust me, they disappear fast—so maybe double the batch just in case.
Recipe FAQs
- → How long should I marinate the chicken in pickle brine?
Marinate for a minimum of 1 hour to tenderize and infuse tang; up to 4 hours is fine. Avoid much longer to prevent overly soft texture.
- → Why use cornstarch in the breading?
Cornstarch helps create a lighter, crispier crust by reducing gluten formation and promoting a delicate, crunchy texture when fried.
- → Can I use boneless chicken breasts instead of tenders?
Yes. Slice boneless, skinless breasts into strips of even thickness so they cook evenly and benefit from the same marinating and double-dredge technique.
- → What's the ideal frying temperature and technique?
Heat oil to about 350°F (175°C) and fry in batches without overcrowding. Maintain temperature between batches for even browning and a non-greasy crust.
- → How can I get extra crunch without deep frying?
Add panko to the flour mix and bake on an oiled rack at 425°F, flipping halfway. The rack promotes airflow for a crisp exterior.
- → How should leftovers be stored and reheated?
Store cooled tenders in an airtight container in the fridge up to 3 days. Re-crisp in a 375°F oven or an air fryer for best texture rather than microwaving.