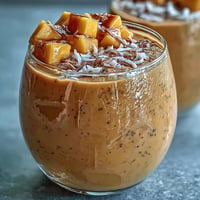
 Save to Pinterest
 The morning rush in our house used to be chaos until I discovered microwave mug pancakes during a particularly hectic Tuesday. There was something almost magical about watching the batter rise in the mug, transforming from liquid to fluffy cake in under two minutes. My kitchen experiments have led me down many paths, but this quick breakfast hack has saved countless mornings when time was tight but I still craved something warm and homemade.
Last winter when my nephew stayed over, I watched his eyes widen with genuine amazement as we made this together. He kept peeking through the microwave door, fascinated by how quickly his breakfast was materializing. That morning turned into an impromptu cooking lesson, with him proudly carrying his warm mug pancake to the table, drowning it in maple syrup and declaring it better than restaurant pancakes.
Ingredients
- All-purpose flour: The foundation of our pancake that gives it structure without becoming dense, I always fluff it with a fork before measuring for the lightest result.
- Baking powder: This is what creates the magical rise, making sure your mug pancake is fluffy rather than rubbery.
- Milk: It brings everything together into a batter, with whole milk creating the richest flavor but any milk working perfectly well.
- Butter: A little melted butter gives these pancakes a richness that elevates them from simple to special.
- Vanilla extract: Just a dash transforms the flavor, making your kitchen smell like a bakery even when using the microwave.
Tired of Takeout? 🥡
Get 10 meals you can make faster than delivery arrives. Seriously.
One email. No spam. Unsubscribe anytime.
Instructions
- Prep your mug:
- Swirl a bit of melted butter around the inside of your mug, making sure to coat the sides. This prevents sticking and adds a lovely buttery edge to your pancake.
- Mix the dry team:
- Add your flour, baking powder, sugar and salt to the mug, giving them a good stir with a fork. Breaking up any lumps now saves trouble later.
- Introduce the wet ingredients:
- Pour in your milk, melted butter and vanilla, then stir just until the dry spots disappear. The batter should look a bit lumpy, which is exactly what you want.
- Add your personality:
- Gently fold in chocolate chips, blueberries, or whatever makes your heart happy. They'll create little pockets of joy throughout your pancake.
- Microwave magic:
- Pop the mug in the microwave on high for about 90 seconds and watch the science happen. The pancake will rise dramatically and then settle slightly when done.
- Finish with flair:
- Let it cool briefly, then drizzle with maple syrup or add fresh fruit on top. The contrast between the warm pancake and cool toppings makes each bite even better.
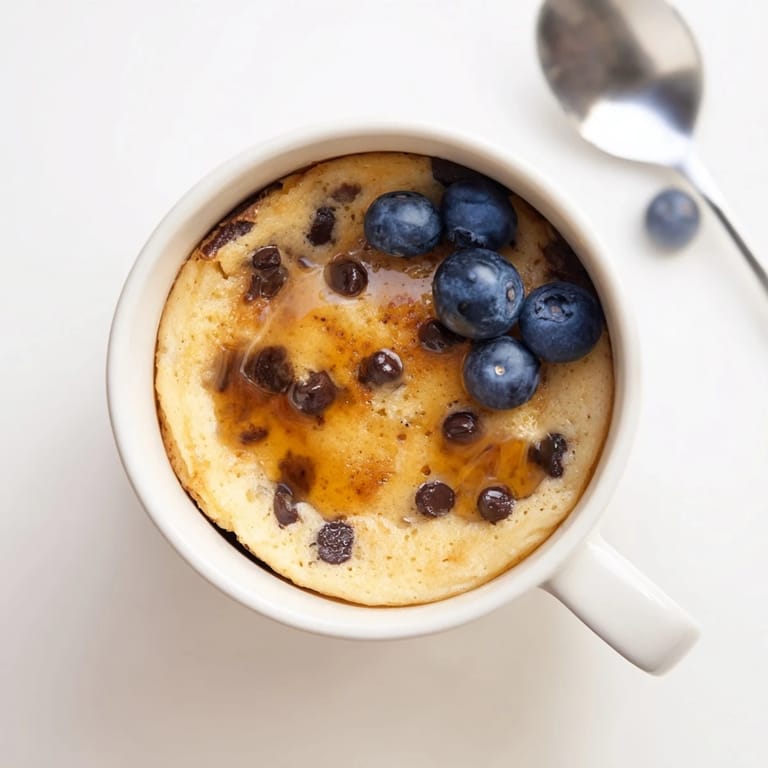
 Save to Pinterest
 One rainy Sunday morning when the power went out in our neighborhood, I remembered we still had a gas stove but no way to make regular pancakes without electric appliances. The microwave was out too, but I adapted this recipe to a stovetop mug pancake by placing the mug in a water bath in a covered pan. My daughter said the anticipation made it taste even better, and now whenever it rains, she asks for our special power outage pancakes even though we have electricity.
Texture Troubleshooting
After dozens of mug pancakes, Ive found the texture comes down to three things: measuring accuracy, mixing technique, and microwave timing. If your pancake turns out dense, try using a bit less flour or a touch more liquid next time. For gummy results, you likely overmixed the batter, breaking down those precious air bubbles that create fluffiness. And if the center seems undercooked while the edges are perfect, your mug might be too narrow and deep try using a wider vessel for more even cooking.
Making It Your Own
The basic recipe is just a canvas I experiment with constantly, adding cinnamon and diced apples in fall, lemon zest and poppy seeds in spring, or mashed banana and a sprinkle of nutmeg when I need comfort food. Once I even added a tablespoon of cocoa powder and called it dessert. The beauty of cooking in a single mug is that each batch can be completely different no commitment to a full pancake stack of one flavor.
Kid-Friendly Kitchen Science
This recipe became our favorite weekend science experiment when my kids were younger, exploring how baking powder creates bubbles when it meets liquid, and how those bubbles expand when heated. We would hypothesize what would happen if we changed ingredients or portions, then test our theories with delicious results regardless of whether we were right.
- For picky eaters, let them design their own pancake with mix-ins they choose themselves.
- A sprinkle of colorful sprinkles on top before microwaving creates a fun confetti effect without changing the taste much.
- The mug should be at least twice the volume of your batter to prevent overflow, which is a lesson my kids learned the hard way but with great amusement.
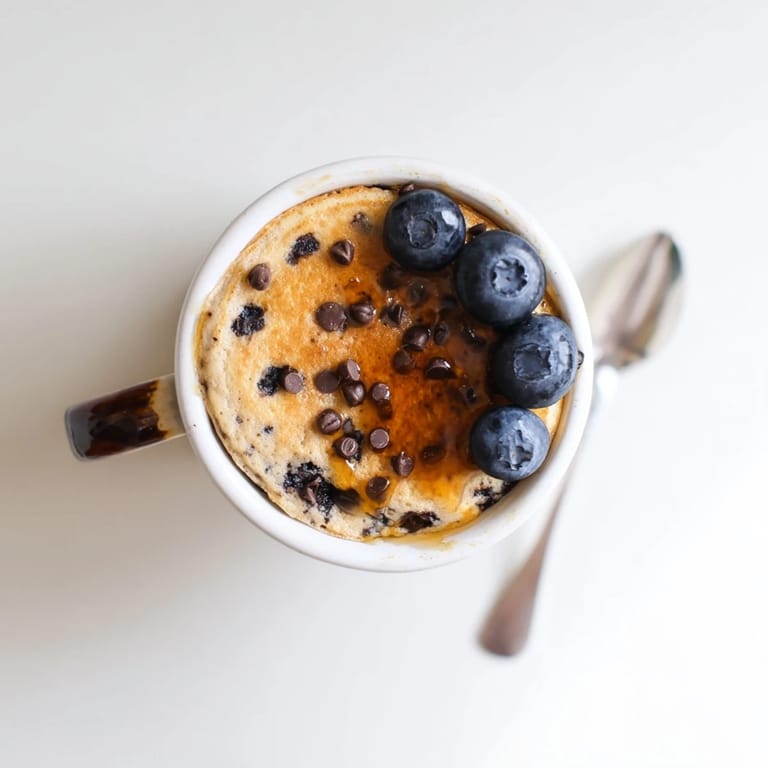
 Save to Pinterest
 This humble mug pancake has become more than just a quick breakfast in our house its a small moment of creation and comfort in busy days. Whether made for myself on quiet mornings or as an after-school snack that makes my children feel cared for, its proof that good food doesnt always need to be complicated.
Recipe FAQs
- → Why does my microwave mug pancake come out dense instead of fluffy?
Overmixing the batter is the primary culprit. Mix only until flour streaks disappear—lumps are perfectly fine and contribute to fluffiness. Additionally, ensure your baking powder is fresh, as expired leavening agents won't produce proper rise. Let the pancake rest for 1 minute after cooking to set properly.
- → Can I make this without a microwave?
Yes, you can adapt this to a stovetop by pouring the batter onto a greased skillet over medium heat, cooking for 2-3 minutes per side until golden. Alternatively, use a conventional oven at 350°F for 8-10 minutes in a small baking dish.
- → How do I prevent overflow in the microwave?
Use a mug that's at least 12 ounces to provide adequate space for rising. Fill no more than halfway with batter before microwaving. If you're adding mix-ins that absorb moisture, reduce the milk slightly or use a larger vessel.
- → What's the best way to add mix-ins without sinking?
Fold mix-ins gently into the finished batter just before microwaving. Smaller pieces like mini chocolate chips or blueberries distribute better than large chunks. Coating them lightly in flour can help keep them suspended throughout the crumb.
- → Can I make this dairy-free or vegan?
Absolutely. Substitute milk with any plant-based option like almond, oat, or coconut milk, and use coconut oil or vegan butter instead of regular butter. The vanilla extract adds richness. Omit any egg additions and verify your baking powder is aluminum-free for optimal flavor.
- → How long does the batter keep if I want to prep ahead?
Mix the dry ingredients ahead and store in an airtight container for up to one week. Prepare the batter immediately before cooking, as it begins activating once wet ingredients combine. Don't let mixed batter sit for more than 5 minutes before microwaving.