 Save to Pinterest
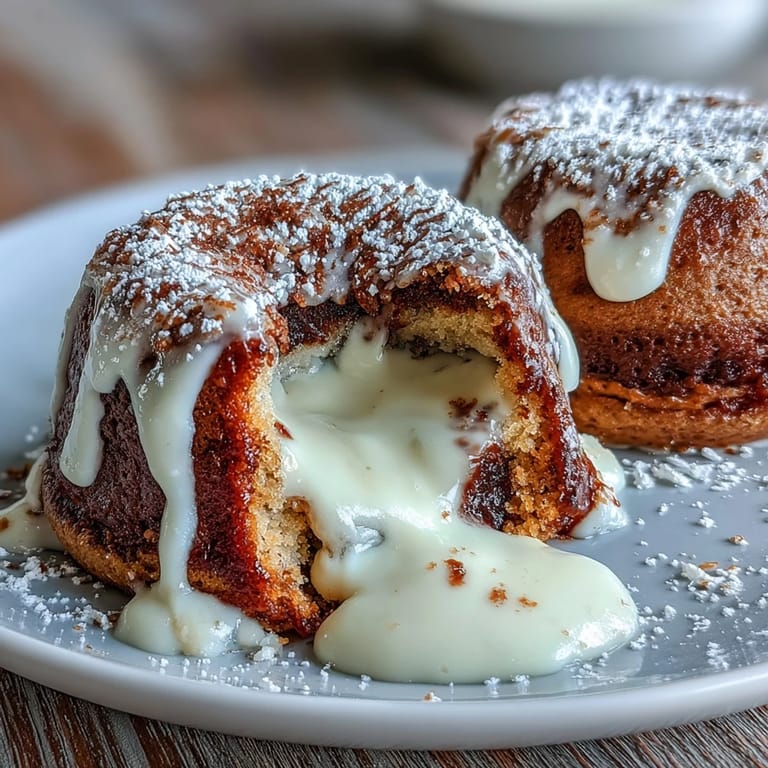
 There's something almost magical about watching a spoon break through the caramelized edge of a molten chocolate cake and watching that glossy white center spill across the plate like liquid gold. I stumbled onto hojicha powder at a tiny tea shop in Seattle, and the moment I smelled that toasty, almost nutty aroma, I knew it belonged in dessert. That night, I abandoned my usual chocolate cake recipe and started experimenting, determined to marry the earthy warmth of roasted green tea with the delicate sweetness of white chocolate. After a few kitchen mishaps and one memorable moment of accidentally oversweetening a batch, these individual lava cakes became my secret weapon for dinner parties.
I'll never forget plating these for my partner's birthday dinner last spring, when I inverted the first cake and that silky white chocolate center cascaded across the plate in one perfect slow-motion moment. Their expression was worth every minute of prep work, and suddenly I understood why restaurants charge so much for this dessert. That night, these cakes became more than just something I made—they became my version of saying I care without having to say much at all.
Ingredients
- White chocolate, chopped: The foundation of your molten center—use a quality bar you'd actually eat on its own, because cheap chocolate will taste exactly as cheap as it is in this delicate dessert.
- Unsalted butter: This carries the flavors forward without adding saltiness that would fight with the hojicha's subtle bitterness.
- Eggs and egg yolk: The extra yolk is what makes this cake so richly textured and gives you that luxurious, custardy center.
- Granulated sugar: Whisked with the eggs until pale, this creates the structure that keeps the edges set while the middle stays liquid.
- All-purpose flour: Just enough to provide structure without making the cake dense or cakey.
- Hojicha powder: This roasted green tea is where the magic happens—it's got this warm, toasty depth that whispers rather than shouts, balancing the sweetness beautifully.
- Salt: A tiny pinch that amplifies all the other flavors and keeps everything from tasting one-dimensional.
Tired of Takeout? 🥡
Get 10 meals you can make faster than delivery arrives. Seriously.
One email. No spam. Unsubscribe anytime.
Instructions
- Prep your stage:
- Preheat your oven to 200°C (390°F) and grease those ramekins with butter, then dust with flour—this step is your insurance policy for clean inversions later. Tap out any excess flour so you don't end up with a powdery coating on your finished cake.
- Melt and cool your chocolate:
- Set up a double boiler and let the white chocolate and butter come together slowly over that barely-simmering water, stirring until you have something silky and smooth. Remove it from heat and let it cool for a minute or two—you don't want to scramble your eggs when you combine everything.
- Whisk your egg mixture:
- In a separate bowl, whisk the eggs, egg yolk, and sugar together until the mixture turns pale and gains some volume, which usually takes about 2 to 3 minutes of steady whisking. You're essentially making a light foam base that will give your cake its airy texture.
- Fold in the dry ingredients:
- Sift the flour, hojicha powder, and salt right over your egg mixture, then fold everything together with a spatula using gentle, deliberate motions. This is not the time to be aggressive—overmixing develops gluten and you'll end up with a tough, cakey cake instead of a tender one.
- Combine everything:
- Pour that cooled chocolate mixture into your egg mixture and fold until just barely incorporated, being careful not to overwork it. Some tiny streaks of batter are okay and honestly preferable to overdoing it.
- Fill and bake:
- Divide the batter evenly among your four ramekins and place them on a baking tray, then slide into the oven for exactly 12 minutes. The magic is in the timing—the edges will look set and firm while the center jiggles just slightly when you give the tray a gentle shake.
- The grand finale:
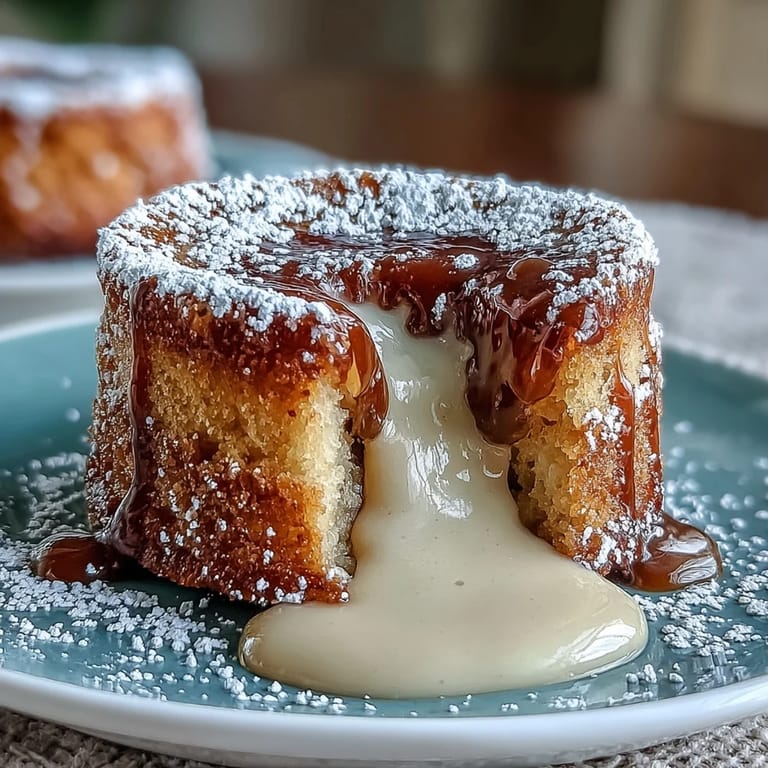
- Let the cakes rest for about 1 to 2 minutes, then run a thin knife around the edges and invert each one onto a serving plate with a quick, confident flip. Dust with powdered sugar and serve immediately while everything is still warm and the center is still flowing.
 Save to Pinterest
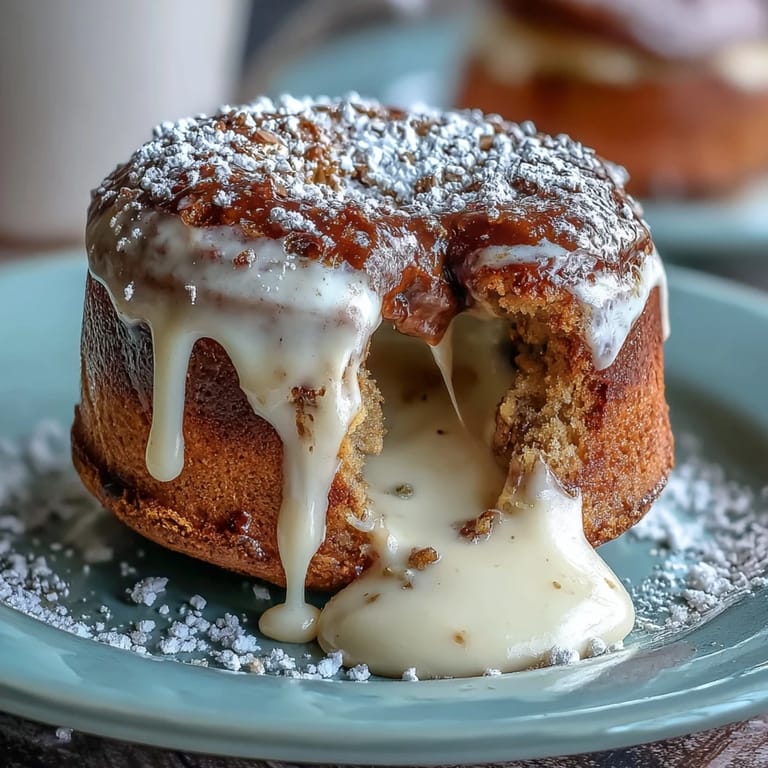
 There's a moment right after you pull these cakes from the oven when the kitchen fills with this warm, toasty aroma that makes everyone pause and ask what you're making. That small instant of anticipation before the first spoon breaks through the surface is exactly when I realized this dessert had become something special to me—it's not just about the taste, it's about creating that moment of wonder on someone's plate.
Timing and Temperature Secrets
The difference between a mediocre lava cake and an unforgettable one lives in respecting your oven's personality and understanding that every oven runs a little hot or cold. I learned this when my first batch came out overdone because I was using a convection setting without realizing it—now I always use standard bake mode and rotate my tray halfway through if the cakes seem to be browning too quickly on one side. Temperature matters more than you'd think, and a quick oven thermometer investment will save you from guessing games.
The Hojicha Advantage
Hojicha powder is not just a fun ingredient swap—it's a flavor bridge that transforms white chocolate from feeling one-dimensional and overly sweet into something with actual complexity and depth. The roasting process that creates hojicha brings out these subtle caramel and nuttiness notes that echo quietly throughout the cake, making each bite feel intentional and thoughtful. When someone asks what makes these cakes different, it's always the hojicha they taste first, even if they don't know what to call that mysterious earthiness.
Serving and Pairing Ideas
These cakes are perfect on their own, but if you want to elevate them, a light dusting of powdered sugar and a small pile of fresh raspberries or blackberries adds color and a tart contrast that cuts through the richness beautifully. Some nights I serve mine with a small dollop of unsweetened whipped cream, and other times I just let the cake speak for itself with an espresso on the side. The pairing options are endless because this dessert is balanced enough to stand alone but flexible enough to play well with others.
- Ice-cold milk or a shot of espresso transforms these cakes into the kind of dessert moment that feels like a treat from a fancy restaurant.
- A small scoop of vanilla bean ice cream melting into the warm white chocolate center creates another layer of indulgence that's almost sinful.
- Fresh berries or candied citrus peel add brightness and textural contrast without overwhelming the delicate hojicha notes.
 Save to Pinterest
 These hojicha white chocolate lava cakes have become my answer whenever someone asks what to make when you want to feel like you're in a professional kitchen. They're elegant enough to impress but simple enough that you'll actually make them again, which is honestly the best compliment any recipe can receive.
Recipe FAQs
- → What does hojicha taste like?
Hojicha has a distinctive nutty, roasted flavor with earthy caramel notes. Unlike other green teas, it's roasted over charcoal which reduces bitterness and creates a warm, toasty profile that pairs beautifully with white chocolate's creamy sweetness.
- → How do I know when the lava cakes are done?
The edges should appear set and firm while the center remains soft and slightly jiggly when gently shaken. This contrast ensures the molten center flows properly when you cut into the cake after resting.
- → Can I make the batter ahead of time?
For best results, bake the cakes immediately after preparing the batter. However, you can prepare the dry ingredients beforehand and store separately. The molten texture relies on fresh baking, so avoid refrigerating the assembled batter.
- → What can I use instead of ramekins?
Muffin tins or small oven-safe bowls work as alternatives. Just ensure they're generously greased and dusted with flour. Adjust baking time slightly if using different vessel sizes—smaller containers may need less time.
- → How do I get the most molten center?
Reduce baking time by 1 minute from the recommended 12 minutes. The centers should still appear quite jiggly when removed from the oven. Letting them rest briefly helps them set just enough to invert while staying liquid inside.