Save to Pinterest
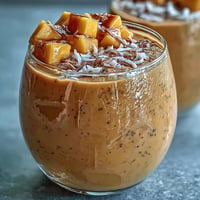
 A friend once handed me a small cup of hojicha at a Tokyo café, and I was struck by how the roasted tea seemed to whisper rather than shout—earthy, gentle, almost sweet without being cloying. That moment stuck with me so vividly that years later, standing in my kitchen on a quiet Sunday afternoon, I wondered what would happen if I built an entire cake around that delicate flavor. The result was this hojicha buttercream cake, layered with dark chocolate ganache that plays beautifully against the tea's toasted warmth.
I made this cake for my sister's birthday dinner, and watching her take that first bite—the way her eyes widened just slightly when the hojicha flavor registered, followed by the dark chocolate melting on her tongue—reminded me why baking matters. It wasn't just dessert; it was a moment where something I'd learned and loved became part of someone else's memory too.
Ingredients
- Cake flour, sifted: Use 120 g and sift it before measuring to avoid a dense crumb; this lightweight flour is what gives the sponge its airy, delicate structure that hojicha buttercream won't weigh down.
- Large eggs, room temperature: Cold eggs won't incorporate air the same way, so take yours out of the fridge at least 30 minutes before starting; this is non-negotiable for a proper sponge.
- Granulated sugar: 120 g beaten with the eggs creates the foam that gives this cake its signature lightness.
- Whole milk and unsalted butter: Keep both at room temperature so they blend seamlessly into the batter without breaking it; I learned this the hard way with a grainy, separated mixture.
- Hojicha loose leaf tea: Buy from a reputable source if you can; loose leaf hojicha will give you a deeper, more authentic flavor than steeped tea bags, though both work in a pinch.
- Unsalted butter for buttercream: 200 g softened perfectly means it should feel like butter, not cold or greasy; I use the windowpane test—if it breaks with a slight crumble, it's ready.
- Powdered sugar: Sift this too, because lumps in your buttercream are more visible and unpleasant than you'd think.
- Dark chocolate, 60–70% cocoa: This range hits the sweet spot between bitterness and richness, complementing hojicha without overshadowing it; melting 100 g in hot cream creates that glossy ganache.
- Heavy cream: Use 80 ml for the ganache and keep it just below boiling so it's hot enough to melt chocolate without scalding it.
Tired of Takeout? 🥡
Get 10 meals you can make faster than delivery arrives. Seriously.
One email. No spam. Unsubscribe anytime.
Instructions
- Prep your pans and preheat:
- Set your oven to 175°C (350°F) and line two 18 cm round cake pans with parchment paper on the bottom. I've found that parchment on the bottom only—not the sides—gives you a tender, golden edge without the cake sticking.
- Beat eggs and sugar into clouds:
- In a large bowl, whisk room-temperature eggs with 120 g granulated sugar on high speed for 5–7 minutes until the mixture transforms into something thick, pale, and ribbony. This is the engine of your cake's lift, so don't rush this step or skip the electric mixer.
- Fold in flour gently:
- Sift the cake flour and salt together, then fold them into the egg mixture in three additions using a spatula, turning the bowl as you go. Each fold should be deliberate and light; you're protecting the air bubbles you just worked so hard to create.
- Create a smooth batter:
- Whisk 40 ml room-temperature milk, 40 g melted and cooled butter, and 1 tsp vanilla extract together in a small bowl. Stir a few spoonfuls of batter into this mixture to temper it, then gently fold everything back into the main batter until no streaks remain.
- Bake with confidence:
- Divide the batter evenly between your two prepared pans and smooth the tops. Bake for 20–22 minutes until a skewer inserted into the center comes out clean; the cake should spring back gently when you touch it.
- Cool with patience:
- Let the cakes rest in their pans for 10 minutes—this sets them just enough so they release cleanly—then turn them out onto a wire rack to cool completely. Don't rush assembly; a warm cake and warm frosting will create a sliding, unstable situation.
- Brew the hojicha infusion:
- Heat 100 ml whole milk in a small saucepan until it's steaming but not boiling, then add 3 tbsp loose leaf hojicha tea (or 3 tea bags) and let it steep for 10 minutes. The milk should turn a lovely tan color and smell deeply toasted; strain carefully and let it cool to room temperature.
- Beat the buttercream base:
- In a clean bowl, beat 200 g softened unsalted butter with 200 g sifted powdered sugar and a pinch of salt for 3–4 minutes until it's light, fluffy, and almost mousse-like. This is where you're building a foundation that will be both stable and spreadable.
- Incorporate the hojicha milk:
- Gradually pour the cooled hojicha-infused milk into the butter mixture while beating on medium speed, adding it a few tablespoons at a time so it emulsifies smoothly. If the buttercream looks broken or grainy, keep beating; it will come together, though patience matters here.
- Make the chocolate ganache:
- Heat 80 ml heavy cream in a small saucepan until it's steaming and wisps of steam rise from the surface, then pour it over 100 g chopped dark chocolate in a bowl. Let it sit untouched for 2 minutes—this is crucial for even melting—then stir gently until the mixture is smooth, glossy, and unified.
- Cool the ganache carefully:
- Let your ganache sit at room temperature for about 5–10 minutes so it thickens slightly but remains pourable. If it gets too firm, it won't cascade elegantly down the sides of your finished cake.
- Layer with intention:
- Place one completely cooled cake layer on your serving plate, then spread half the hojicha buttercream evenly over the top using an offset spatula. Set the second cake layer on top, then spread the remaining buttercream over the top and down the sides, creating an even crumb.
- Finish with the ganache pour:
- Pour the cooled ganache over the top of the cake, letting it find its own path down the sides in a natural, organic way. You're not aiming for perfection here; slight asymmetry is what makes it look handmade and genuine.
- Chill and set:
- Refrigerate the assembled cake for 30 minutes so the ganache sets and the whole structure becomes stable and easier to slice. This is a good time to make tea and sit with your work before the grand reveal.
 Save to Pinterest
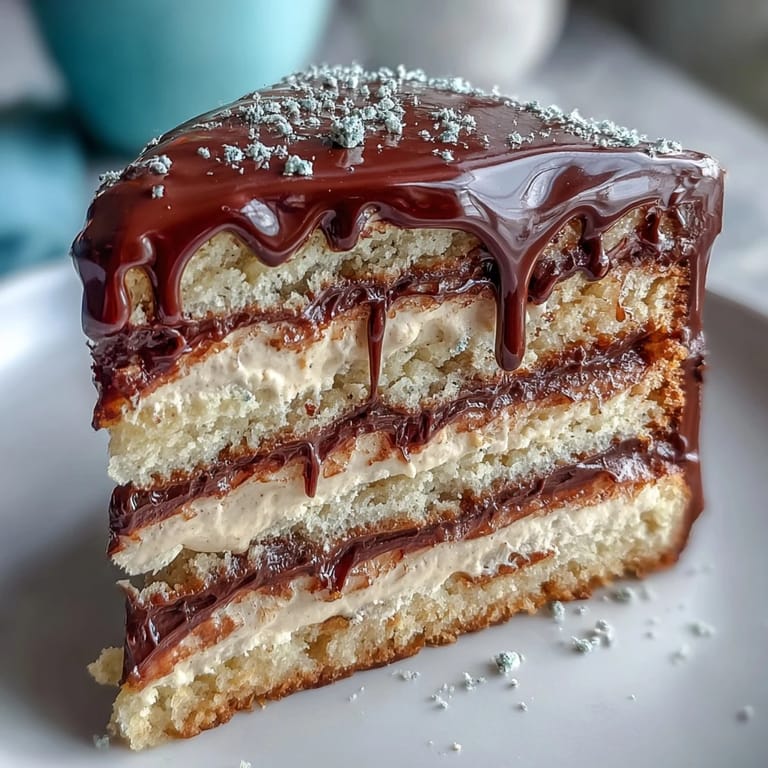
 There was a moment when I first tasted a slice of this cake—the sponge gave way to the hojicha buttercream, which then met that dark, glossy chocolate on the plate—and I realized I'd finally captured what that café moment in Tokyo had felt like. Food does that sometimes; it becomes the vessel for something bigger than just ingredients and technique.
Why Hojicha Matters in Desserts
Hojicha is roasted green tea, and that roasting process transforms it into something almost entirely different from its raw form—less grassy, more like toasted grain or even a gentle coffee note without the bitterness. In buttercream, it doesn't try to be chocolate or vanilla; it creates its own lane, adding depth and sophistication that makes people pause and ask what they're tasting. The first time I used it, I was nervous it would be too subtle to matter or too strong and strange, but it lands in this perfect middle ground where it elevates rather than overwhelms.
The Magic of Sponge Cake Structure
A good sponge cake is mostly air—the eggs and sugar are whipped until they trap thousands of tiny bubbles, and the gentle folding of flour protects those bubbles so they can set in the oven and create that tender, almost cloud-like crumb. I think of it like building something very fragile very deliberately, which is why every step has to be done with care and intention. The beauty of this approach is that you don't need butter in the batter itself (just the little bit for richness in the mix-in), so the cake stays light enough to pair beautifully with a rich buttercream without feeling heavy.
Assembly Tips and Confidence
Frosting a layer cake can feel intimidating, especially with the ganache drip happening at the end, but I promise it becomes much easier once you accept that perfection isn't the goal—genuine, handmade beauty is. A trick I discovered is to use an offset spatula dipped in hot water (then dried) for smoother buttercream application, and to apply the ganache when it's just barely cool, so it pours in a controlled but slightly organic way rather than either running everywhere or sitting in a thick blob.
- If your ganache sets too firm before you pour it, gently warm it over a water bath for 10 seconds at a time, stirring between, until it reaches that perfect pourable consistency again.
- Chilling the cake after assembly isn't just for setting the ganache; it actually makes slicing cleaner because the cold temperature firms up all three layers enough to cut with a hot knife without the frosting dragging.
- Serve this cake slightly cooled or at room temperature so the hojicha buttercream is soft enough to taste creamy and the sponge is tender; cold cake is beautiful to look at but tastes a bit muted.
 Save to Pinterest
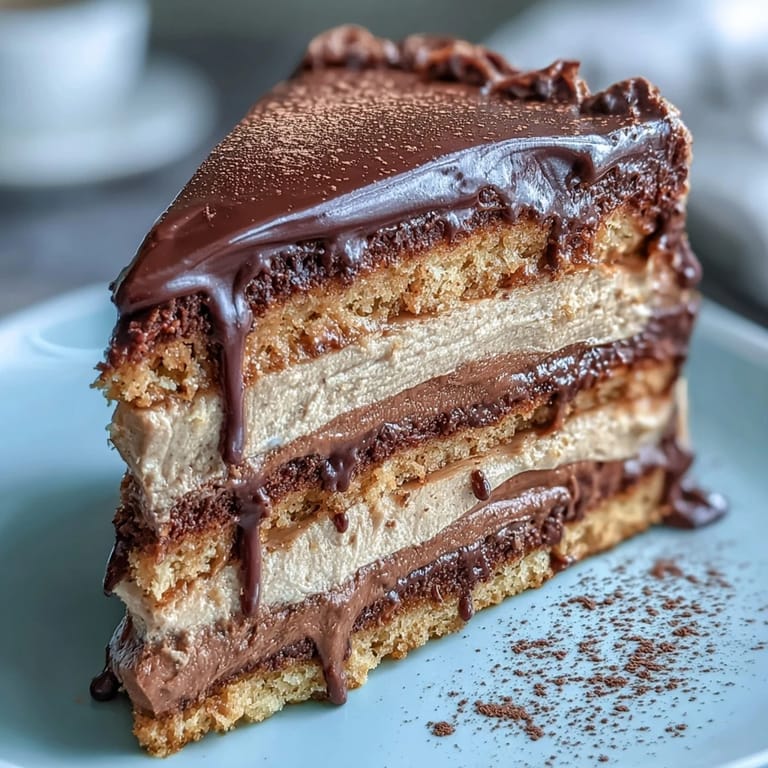
 Making this cake reminds me every time why I love baking—it's the intersection of precision and creativity, where following the rules carefully actually gives you the freedom to make something beautiful and meaningful. I hope this cake brings someone you care about the same quiet joy it brings to every table it graces.
Recipe FAQs
- → What makes hojicha special in this cake?
Hojicha is roasted Japanese green tea with warm, nutty notes and lower caffeine. Its distinctive earthy flavor creates a sophisticated buttercream that pairs beautifully with rich dark chocolate ganache.
- → Can I make this cake in advance?
Yes. The sponge layers can be baked one day ahead and wrapped tightly. The buttercream and ganache can be prepared 24 hours in advance and stored refrigerated. Assemble the cake up to 6 hours before serving for optimal texture.
- → How do I achieve stronger hojicha flavor?
Increase the hojicha quantity to 4 tablespoons or extend steeping time to 15 minutes. For maximum intensity, grind the tea leaves slightly before infusing and strain through a fine-mesh sieve.
- → What's the best way to slice this cake cleanly?
Use a sharp, thin-bladed knife dipped in hot water and wiped clean between slices. Chill the assembled cake for at least 30 minutes before cutting to prevent the buttercream from smearing.
- → Can I substitute components for dietary needs?
Replace cake flour with gluten-free blend for a GF version. Use plant-based butter and cream for dairy-free options, though texture may vary. The hojicha infusion works with any milk alternative.
- → Why is the egg and sugar beaten so long?
The extended beating creates a stable ribbon stage that incorporates air bubbles, resulting in the sponge's light and tender crumb. Skipping this step yields a denser texture.