 Save to Pinterest
 There was a morning in late May when the sunlight turned my kitchen golden and I impulsively grabbed both yellow and white bowls, thinking why not try something a little celestial. I’d recently seen a marbled cake in a bakery window, its swirls so pretty it almost looked like it didn’t want to be sliced. Mixing yellow and white batters side by side, I found an odd sort of calm swirling them together—there’s a quiet magic in watching colors transform. It was less about perfect lines and more about playful curiosity that day. This Gemini Cake, born of a spontaneous urge for something beautiful, has easily become my go-to for special days ever since.
The first time I made it for a birthday, I nearly dropped a cake pan while laughing at a friend’s story. We ended up with a slightly lopsided layer, but the marbling hid everything and no one cared. That was the night someone called it ‘the constellation cake’ while picking out their favorite colors in each slice. Sometimes baking for friends is more about the messes and shared jokes than flawless frosting. Those funny little moments are scattered all through this recipe for me.
Ingredients
- All-purpose flour: Go for unbleached if you can—the crumb comes out just a touch more tender and I always sift it to avoid lumps.
- Baking powder: Make sure it’s fresh; an old tin can make your cake dense instead of airy.
- Salt: Just half a teaspoon wakes up all the flavors, never skip it even in sweet bakes.
- Unsalted butter: Room temperature is non-negotiable—it creams up fluffy and makes everything lighter.
- Granulated sugar: I’ve tried organic and regular and honestly, just use whatever you have.
- Large eggs: Room temperature lets them blend in like a dream, and the yolks give color and moisture.
- Vanilla extract: Try to use real vanilla if possible, the aroma is worth it.
- Whole milk: Makes the cake plush; let it sit out for a while so it doesn’t chill the batter.
- Instant vanilla pudding powder (optional): This trick was handed to me by a neighbor—it keeps things extra soft and almost custardy.
- Yellow gel food coloring: Only a little is needed, but using gel keeps your batter thick for better marbling.
- Powdered sugar: Sifted, always, so the frosting is smooth with no stubborn sugar pebbles.
- Heavy cream or milk (for frosting): I go with cream for decadence, but milk works in a pinch.
- Lemon zest (optional): When I want an extra pop in the yellow part, fresh zest makes the flavor sing.
Tired of Takeout? 🥡
Get 10 meals you can make faster than delivery arrives. Seriously.
One email. No spam. Unsubscribe anytime.
Instructions
- Prep the pans:
- Grease and line two 9-inch cake pans with parchment so you’re not fighting for every slice to come out clean later.
- Mix dry:
- Whisk your flour, baking powder, and salt together in a medium bowl; the kitchen’s already starting to smell a bit buttery once you bring out the good stuff.
- Beat butter and sugar:
- Use your mixer to whip butter and sugar until it’s pale and fluffy, about three to four minutes—don’t rush or you’ll miss the magic puff.
- Add eggs and vanilla:
- Crack in eggs one at a time, beating well so the batter looks plush after each, then stir in that splash of vanilla.
- Combine dry and milk:
- Add dry mix in three parts, alternating with milk; always start and finish with dry ingredients for the silkiest texture.
- Divide and color:
- Split the batter into two bowls and tint one with a swirl of yellow gel—just enough to feel sunny, not neon.
- Dollop and swirl:
- Use separate spoons to drop dollops of each color into the pans, then run a skewer through for artful marbling.
- Bake:
- Slide into a 350° oven for about thirty to thirty-five minutes, until fragrant and a toothpick comes out clean but with a few tender crumbs.
- Cool completely:
- Let cakes rest in their pans for ten minutes before turning out onto a rack—you can sneak a whiff of that vanilla steam as they cool.
- Make the frosting:
- Beat your soft butter till creamy, then add powdered sugar slowly (wear an apron) and mix in vanilla, salt, and just enough milk or cream for smooth spreading.
- Assemble and frost:
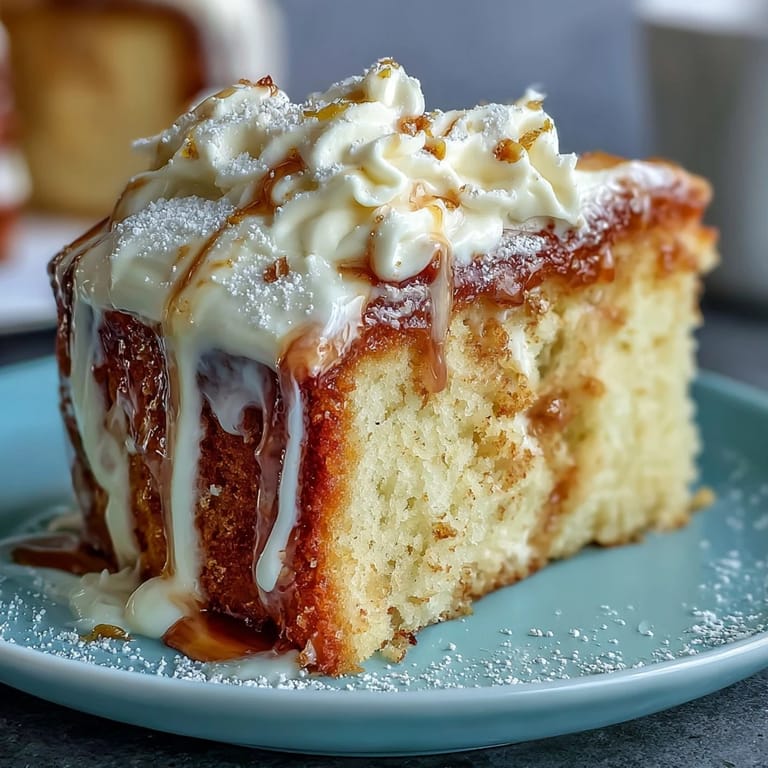
- Level cakes if needed, sandwich with frosting, and cover the top and sides with big swoops; decorate as playfully or neatly as the mood strikes.
 Save to Pinterest
  Save to Pinterest
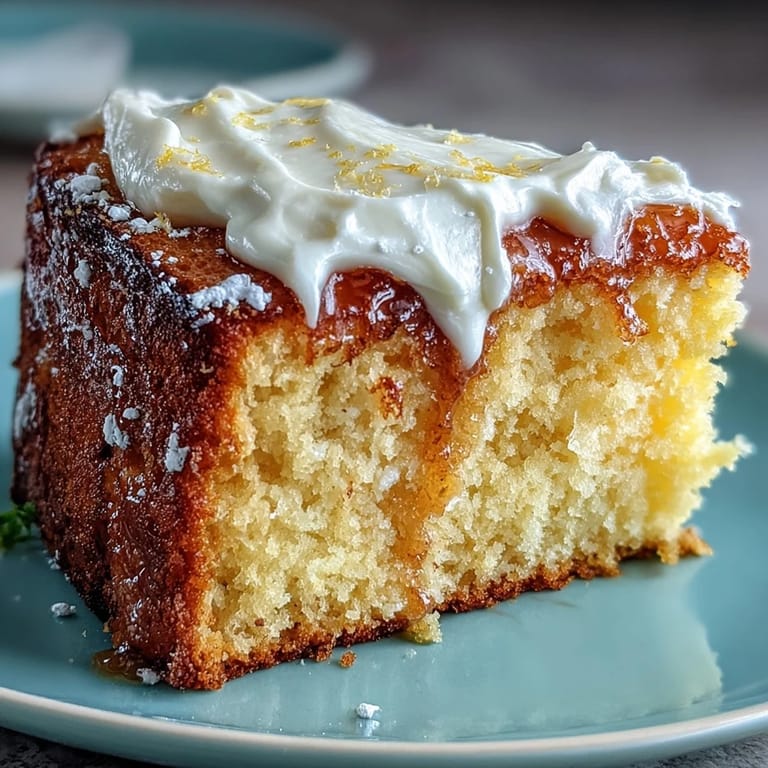
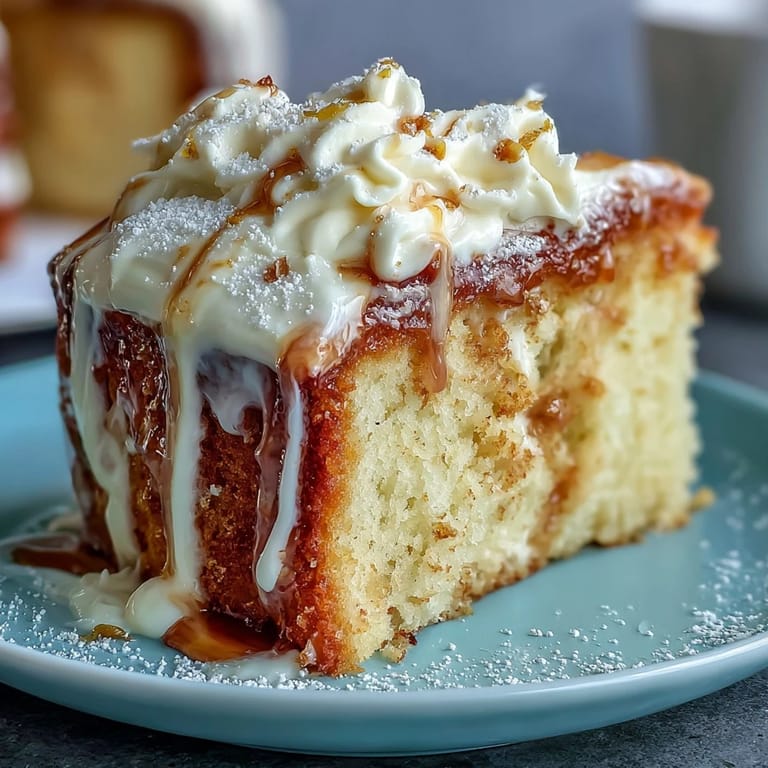
 There’s a particular birthday I remember—candles flickering out while everyone paused to marvel at the cake’s hidden pattern inside. It was the rare kind of hush where dessert really does become the centerpiece, and I could honestly feel the pride glowing a bit brighter than the candles. Sometimes one perfect slice can quiet a whole room in the best way.
Swirling Success: Getting That Perfect Marble
It took me a couple of tries to find my ideal swirl technique—too much swirling and it all blends, too little and the colors stay stubbornly apart. I discovered that using a butter knife and making just two slow figure-eights gives you gorgeous definition without overmixing. Leaving some bold patches of yellow and white is exactly what creates that cosmic vibe when you cut in.
Frosting Without the Fuss
More times than I’d like to admit, I’ve added too much milk and ended up with frosting that wants to slide right off the cake. The trick is patience: just one spoonful at a time, and if it goes thin, a bit more powdered sugar brings you right back. Working with cool layers, and even popping the frosted cake in the fridge for a bit, helps those swoops hold their shape and look invitingly plush.
Celebration Shortcuts and Happy Accidents
I used to assemble everything in one frantic morning, but now I know cake layers stay moist if wrapped up and baked the night before. One time, I forgot the lemon zest and tossed it into the frosting instead—the zingy twist totally worked out. Don’t panic about perfection; birthdays and celebrations are about fun, flavor, and surprise triumphs, not flawless cakes.
- If your marbling looks odd before baking, it evens out in the oven.
- Use an offset spatula for the smoothest finish—it’s a little thing that made life easier.
- Always let your cake cool fully before frosting to avoid melting mishaps.
 Save to Pinterest
  Save to Pinterest
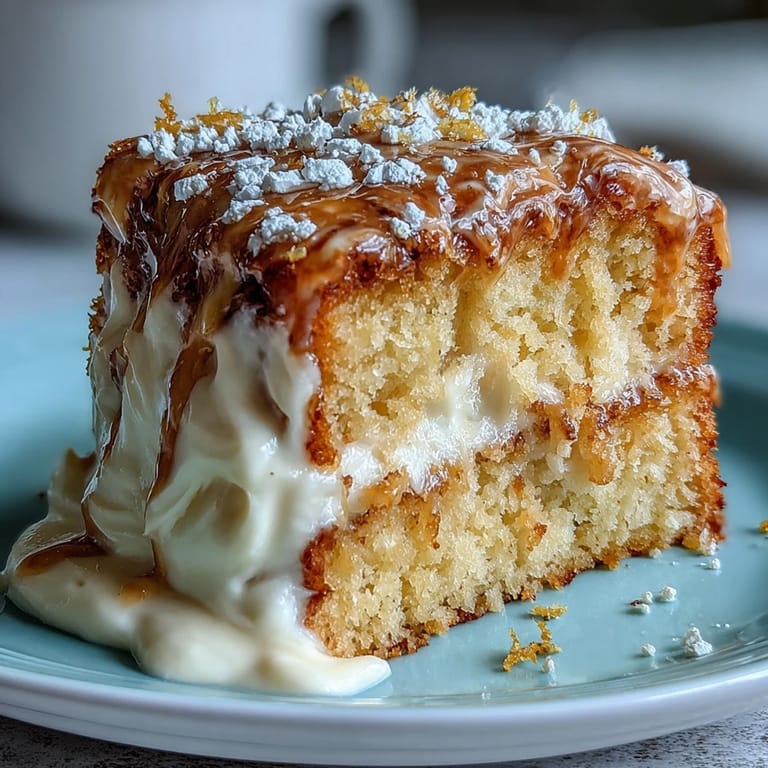
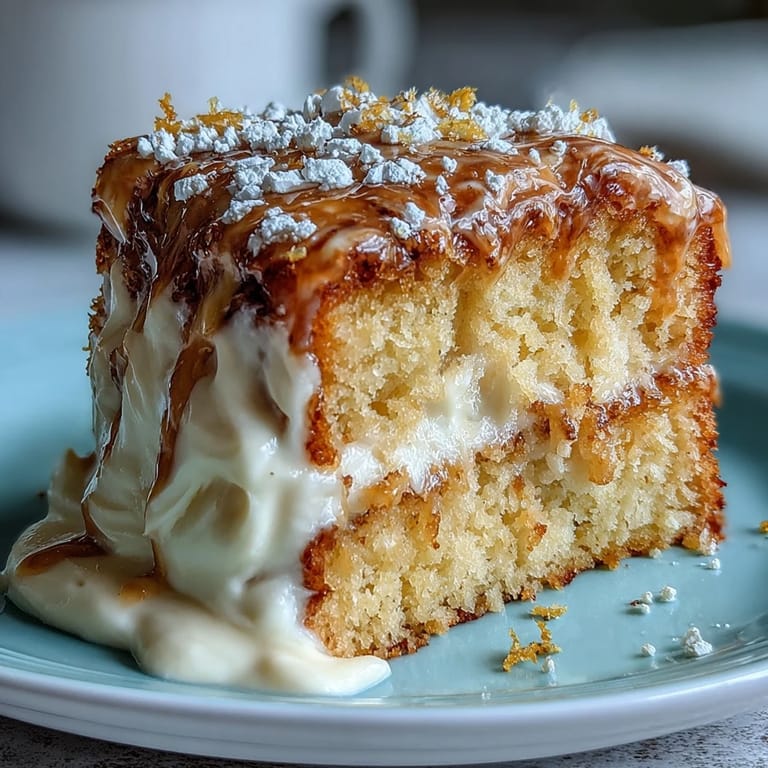
 Baking this cake feels like painting with batter—equal parts creative and comforting. Here’s to cakes that look as magical as they taste, and to the hands that make the celebration memorable.
Recipe FAQs
- → How do I achieve a clear marbled pattern?
Dollop alternating spoonfuls of each batter and swirl once or twice with a skewer; avoid overmixing to keep distinct veins and contrast between the yellow and white sponge.
- → What causes a dense crumb and how to avoid it?
Overbeating after adding flour develops gluten. Mix until just combined and alternate wet and dry additions to maintain a tender, airy crumb.
- → Can I substitute oil for butter?
Using oil yields a moister crumb but less structure and flavor; if substituting, reduce milk slightly and expect a softer texture. Butter gives better richness for layering and frosting.
- → How should I store the finished cake?
Keep the frosted cake refrigerated in a covered cake box for up to 3 days, or at cool room temperature (away from heat) for about 24 hours. Bring to room temperature before serving for best texture.
- → Any tips for coloring the yellow layer?
Use gel food coloring a drop at a time to reach a bright hue without thinning the batter. Consider adding a little lemon zest for natural color and a flavor lift.
- → What fillings or pairings work well?
Lemon curd, fruit preserves, or a light citrus curd complement the yellow sponge. Serve slices with sparkling wine or chamomile tea for a balanced finish.