 Save to Pinterest
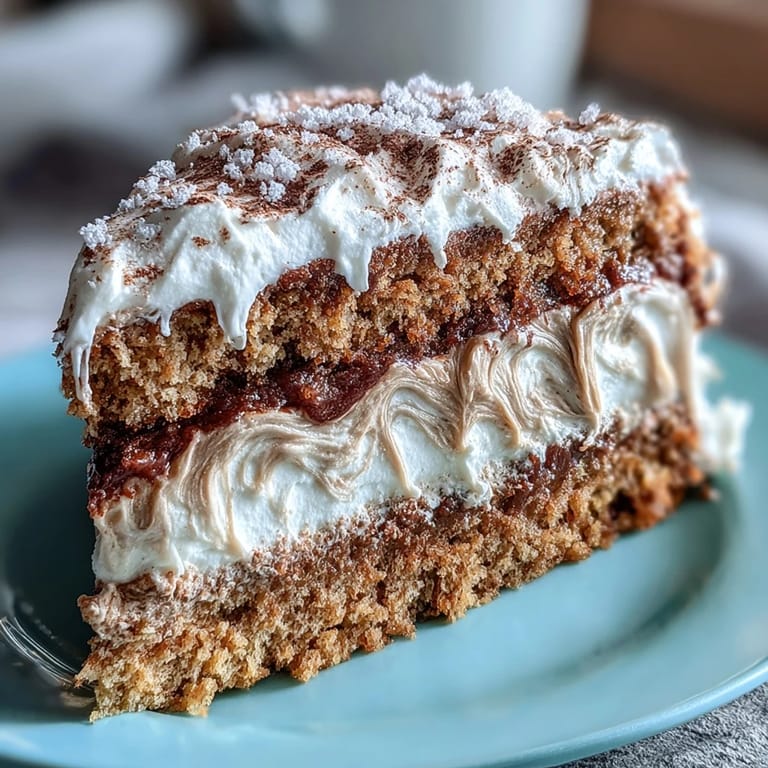
 There's something almost meditative about the first time you crack eggs into a bowl destined for a genoise sponge. My friend Yuki brought a small tin of hojicha powder to my kitchen one autumn afternoon, and watching her eyes light up as she described this cake—delicate, barely sweet, with that distinctive roasted tea fragrance—I knew I had to try it. The promise of something so ethereal, so distinctly Japanese yet entirely approachable, pulled me in immediately. What started as afternoon curiosity became an obsession with mastering the balance between airiness and flavor.
I made this for a small dinner party last spring, and something unexpected happened—nobody wanted to slice into it because the layers looked so perfect together. One guest asked if I'd studied pastry professionally, which made me laugh because just six months prior I'd deflated an entire batch by folding too aggressively. That night taught me that technique matters, but patience and respect for the process matter more.
Ingredients
- Large eggs (4), room temperature: Cold eggs won't whip to that clouds-and-silk consistency you need; take them out of the fridge at least an hour before baking.
- Granulated sugar (120 g): The water bath method dissolves it completely, creating stability that allows the foam to rise properly and hold its shape.
- Cake flour, sifted (120 g): The lower protein content keeps the cake tender; all-purpose flour will make it slightly denser and chewier.
- Hojicha powder (20 g for sponge): This roasted green tea powder is the soul of the recipe; buy from a Japanese grocer if possible because the quality difference is noticeable.
- Unsalted butter, melted and cooled (40 g): Cooling it first prevents it from deflating the batter; this step genuinely makes a difference in the final crumb.
- Whole milk, room temperature (30 ml): The butter-milk mixture acts as an emulsifier, keeping the batter cohesive without weighing it down.
- Fine sea salt (1/4 tsp): A pinch enhances the hojicha's depth and prevents the cake from tasting one-dimensionally sweet.
- Heavy cream, minimum 35% fat (300 ml): Higher fat content whips faster and holds peaks longer; don't skip this detail.
- Powdered sugar (40 g): Sifted before whipping, it dissolves seamlessly into the cream without grittiness.
- Hojicha powder for cream (10 g): A second measure adds that roasted flavor to the frosting without overwhelming the delicate sponge.
- Vanilla extract (1 tsp): Just enough to round out the hojicha without competing for attention.
Tired of Takeout? 🥡
Get 10 meals you can make faster than delivery arrives. Seriously.
One email. No spam. Unsubscribe anytime.
Instructions
- Prepare your stage:
- Preheat the oven to 170°C and line a 20 cm round pan with parchment on the bottom only; the ungreased sides help the cake climb as it bakes. Have all your ingredients measured and within arm's reach because genoise waits for no one.
- Warm the egg and sugar base:
- Set a heatproof bowl over simmering water (not touching the water) and whisk the eggs and sugar constantly until they feel warm to your finger—about 40°C. You're not cooking the eggs; you're dissolving the sugar and slightly warming them to help them whip more efficiently.
- Whip to silk-cloud perfection:
- Remove from heat and beat with an electric mixer on high speed for about 7 minutes until the mixture is pale, thick, and has tripled in volume. The batter should fall in ribbons that briefly hold their shape when you lift the beaters.
- Fold in the dry ingredients:
- Sift the cake flour, hojicha powder, and salt together, then fold this mixture into the egg foam in two additions using a rubber spatula with a gentle hand. Work from the bottom of the bowl, turning the spatula against the side, rotating the bowl slightly with each motion—this preserves the air you've worked so hard to incorporate.
- Temper and fold the butter mixture:
- Whisk together the cooled melted butter and room-temperature milk in a small bowl. Scoop some of the batter into this mixture and stir to combine, then fold this enriched portion back into the main batter so the fat distributes evenly without deflating.
- Pour and tap:
- Pour the batter into your prepared pan and give it a gentle tap on the counter a few times to release large air bubbles. The taps should be firm enough to hear but not violent; you're coaxing, not hammering.
- Bake with patience:
- Bake for 23 to 25 minutes until the top springs back when you press it gently and a wooden skewer inserted in the center comes out clean. The cake will smell incredible toward the end, with hojicha's roasted aroma filling your kitchen.
- Cool with intention:
- Let the cake rest in the pan for 10 minutes, then run a thin knife around the edges and invert it onto a cooling rack. Peel away the parchment gently and let it cool completely before slicing or assembling.
- Make the whipped cream:
- Chill your mixing bowl in the freezer for a few minutes. Sift the hojicha powder and powdered sugar together to prevent lumps, then add the cold heavy cream and vanilla, whipping on medium-high speed until you reach medium-stiff peaks—the cream should hold a shape but still look slightly glossy.
- Slice and assemble:
- Once cooled, use a serrated knife and gentle sawing motions to slice the sponge horizontally into two or three layers. Spread hojicha whipped cream between each layer and over the top, then dust the surface lightly with extra hojicha powder if you'd like.
- Chill before service:
- Refrigerate the assembled cake for at least 30 minutes; this firms everything up and makes slicing infinitely cleaner, plus it gives all the flavors time to meld.
 Save to Pinterest
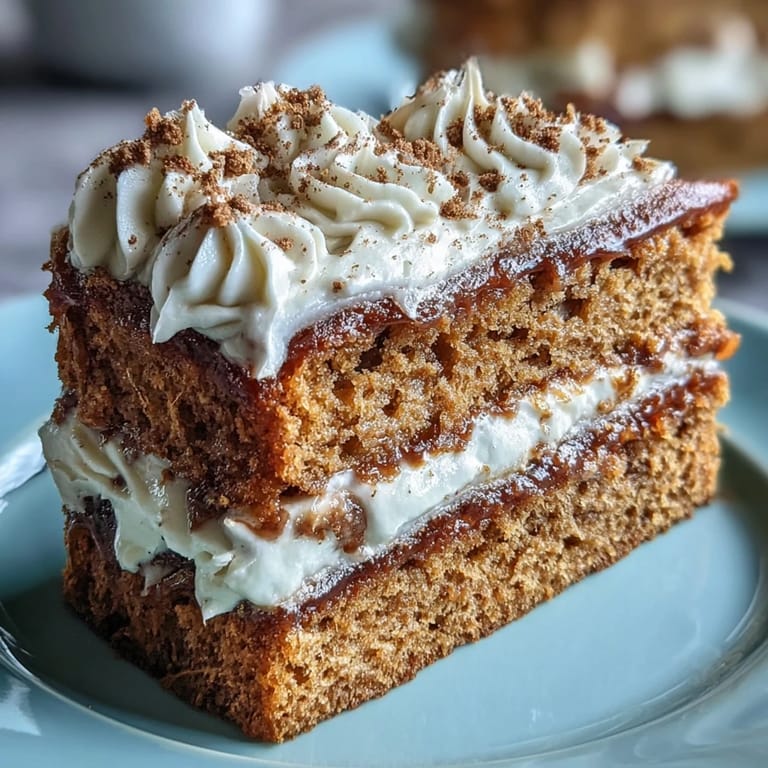
 One morning in late September, I brought a slice of this cake to a Japanese pastry chef who happens to live nearby, nervous about whether I'd captured the essence of what hojicha dessert should be. She took one bite, closed her eyes, and said it tasted like autumn afternoons in Kyoto—which felt like the highest compliment imaginable. That moment made me understand that this cake is more than a technical exercise; it's a quiet conversation between cultures on a plate.
The Genoise Technique and Why It Works
Genoise is built entirely on the principle of incorporating air through egg foam rather than chemical leaveners like baking powder. The warm egg and sugar base creates a stable emulsion that traps air bubbles when beaten, and these bubbles expand in the oven's heat to create that feather-light structure. It's an old technique that's been perfected over centuries, and once you understand the physics, you realize why every step matters so much.
Hojicha: Beyond the Cup
Hojicha is green tea that's been roasted at high temperatures, transforming its character entirely. Unlike the grassy, vegetal notes of regular green tea, roasted hojicha develops warm, toasted, almost nutty flavors with a hint of smoke. In baking, this depth means you don't need much of it to create an impact; a small amount contributes enormous personality without tasting bitter or overwhelming.
Assembly, Variations, and When to Serve
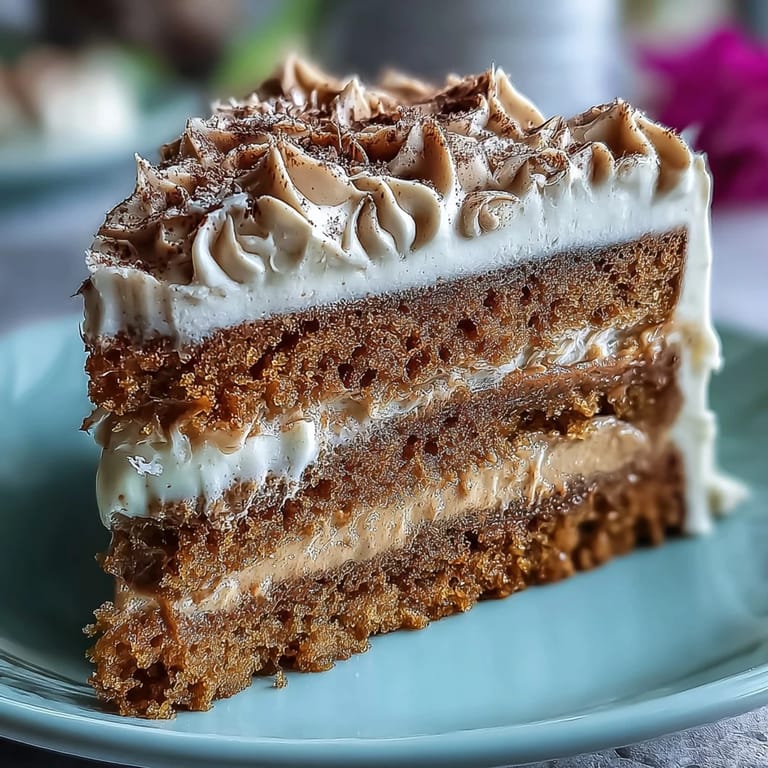
This cake is most stunning when assembled a few hours before serving, which also makes it ideal for entertaining because the hard work is finished before guests arrive. You can brush each cake layer lightly with cooled hojicha tea or a simple sugar syrup before adding the cream if you prefer extra moisture, though the cake itself is quite tender. For garnish, a light dusting of hojicha powder looks ethereal, but you can also top with chocolate shavings, crushed roasted hazelnuts, or candied chestnuts for texture and visual interest.
- Serve the cake at cool room temperature rather than straight from the fridge for the most delicate, nuanced flavor.
- Leftover cake keeps beautifully covered in the refrigerator for three days, though the texture is best eaten within two.
- You can bake the sponge a day ahead and assemble with cream just before serving if that makes your timeline easier.
 Save to Pinterest
 This cake has taught me that elegance doesn't require complexity, just intention and respect for ingredients. Every time you make it, you're practicing a little ritual that connects you to centuries of baking tradition and to the autumn mountains where hojicha grows.
Recipe FAQs
- → What makes hojicha different from matcha?
Hojicha is roasted green tea that produces reddish-brown leaves with a toasty, smoky flavor and lower caffeine content. Matcha is shade-grown, steamed, and ground into vibrant green powder with grassy, bitter notes. The roasting process gives hojicha its distinctive warm, caramel-like profile that pairs beautifully with cream.
- → Can I substitute the hojicha powder?
Matcha powder works but will yield a grassier, more bitter flavor. For similar roasted notes, try roasted kukicha or genmaicha (green tea with roasted brown rice). Coffee powder creates a different mocha-like result. Pure cocoa powder provides chocolate flavor without hojicha's characteristic smokiness.
- → Why must the egg mixture be warmed?
Warming eggs to about 40°C (104°F) helps dissolve sugar completely and creates a stable foam that achieves maximum volume when whipped. This crucial step ensures the genoise rises properly and develops that signature airy, delicate texture. Cold eggs won't whip to the same fluffy consistency.
- → How should I store the finished cake?
Refrigerate in an airtight container for up to 3 days. The cream layers hold up well chilled, and the cake actually benefits from resting—flavors meld beautifully overnight. Bring to room temperature 15-20 minutes before serving for the best texture and flavor experience.
- → What's the purpose of not greasing the cake pan sides?
Genoise batter needs to climb up ungreased pan walls to achieve proper rise. Greasing causes the delicate sponge to slip down instead of ascending, resulting in a dense, poorly risen cake. Lining only the bottom with parchment ensures easy removal while allowing the batter to grip and climb the sides during baking.
- → Can I make this cake in advance?
Bake the sponge up to 2 days ahead, wrap well in plastic, and store at room temperature. Whip the fresh cream and assemble on the day you plan to serve. The completed cake also keeps beautifully refrigerated for 2-3 days, making it excellent for prepping ahead for gatherings or special occasions.